1 Setting up the Student Picker
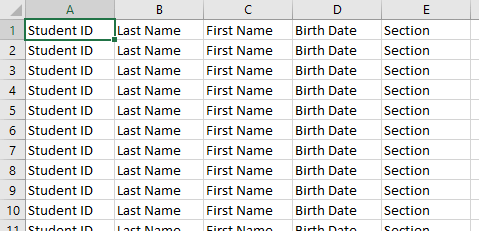
Figure 1
1.1 Preparing your roster
The Student Picker can only read rosters in CSV (comma-separated values) format. After creating or obtaining your class roster, create a spreadsheet in Microsoft Excel or a similar program with the format shown in Figure 1.
A sample roster (note) can be found here.
After confirming that your roster is in the correct format, save it as a CSV file delimited by commas. The extension of this file must be .csv.
1.2 Navigation
The Student Picker uses a sidebar for navigation between the program's various tabs. From top to bottom, the navigation sidebar's buttons are as follows:
 Roster management
 Student Picker
 Attendance logging
 Participation logging
 Behavior logging
 Settings
1.3 Creating your first class
To create a class, open the Student Picker program and navigate to the Roster management tab. If no classes have been created, simply click the large Add New Class button. Enter a name for the class in the box that appears, then click the OK button to create the class.
If one or more classes have already been created, refer to section 2.1.3.